Build your first project with AndroidIDE
This tutorial shows how to create and build your first project with AndroidIDE.
Before we start
In this tutorial, we’re going to walk through the steps required to build your first project with AndroidIDE.
Before we start, please make sure that you have installed the build tools required to build the projects. See this post about setting up the build tools in AndroidIDE.
If you have the build tools installed, you can proceed with the next steps.
Create a project
For this tutorial, we’re going to create a new project. However, you could choose an existing project or even clone a git repository.
Creating a new project is easy. Follow the steps to create a new project:
Open the AndroidIDE application and from the main screen, click on the
Create projectbutton.You’ll be asked to choose a project template. You can choose any template of your choice.
After you’ve chosen a project template, you’ll be asked to enter the project details like the application name and its package name. Fill in the details and click on the
Create projectbutton to create the project.
That’s it! Your project will be created and opened automatically for you.
Project synchronization
After the IDE opens the project, it’ll start the Gradle project synchronization. This is necessary for the IDE to get information about your project and its dependencies. This information is then used to provide you other services.
Note
If you’re building your first project in AndroidIDE, it’ll take some time to download the Gradle distribution and other project dependencies. After that, only the required dependencies need to be downloaded.
Depending on your internet connection, the first build may take up to 10-15 mins. Please be patient and let it setup the project for you.
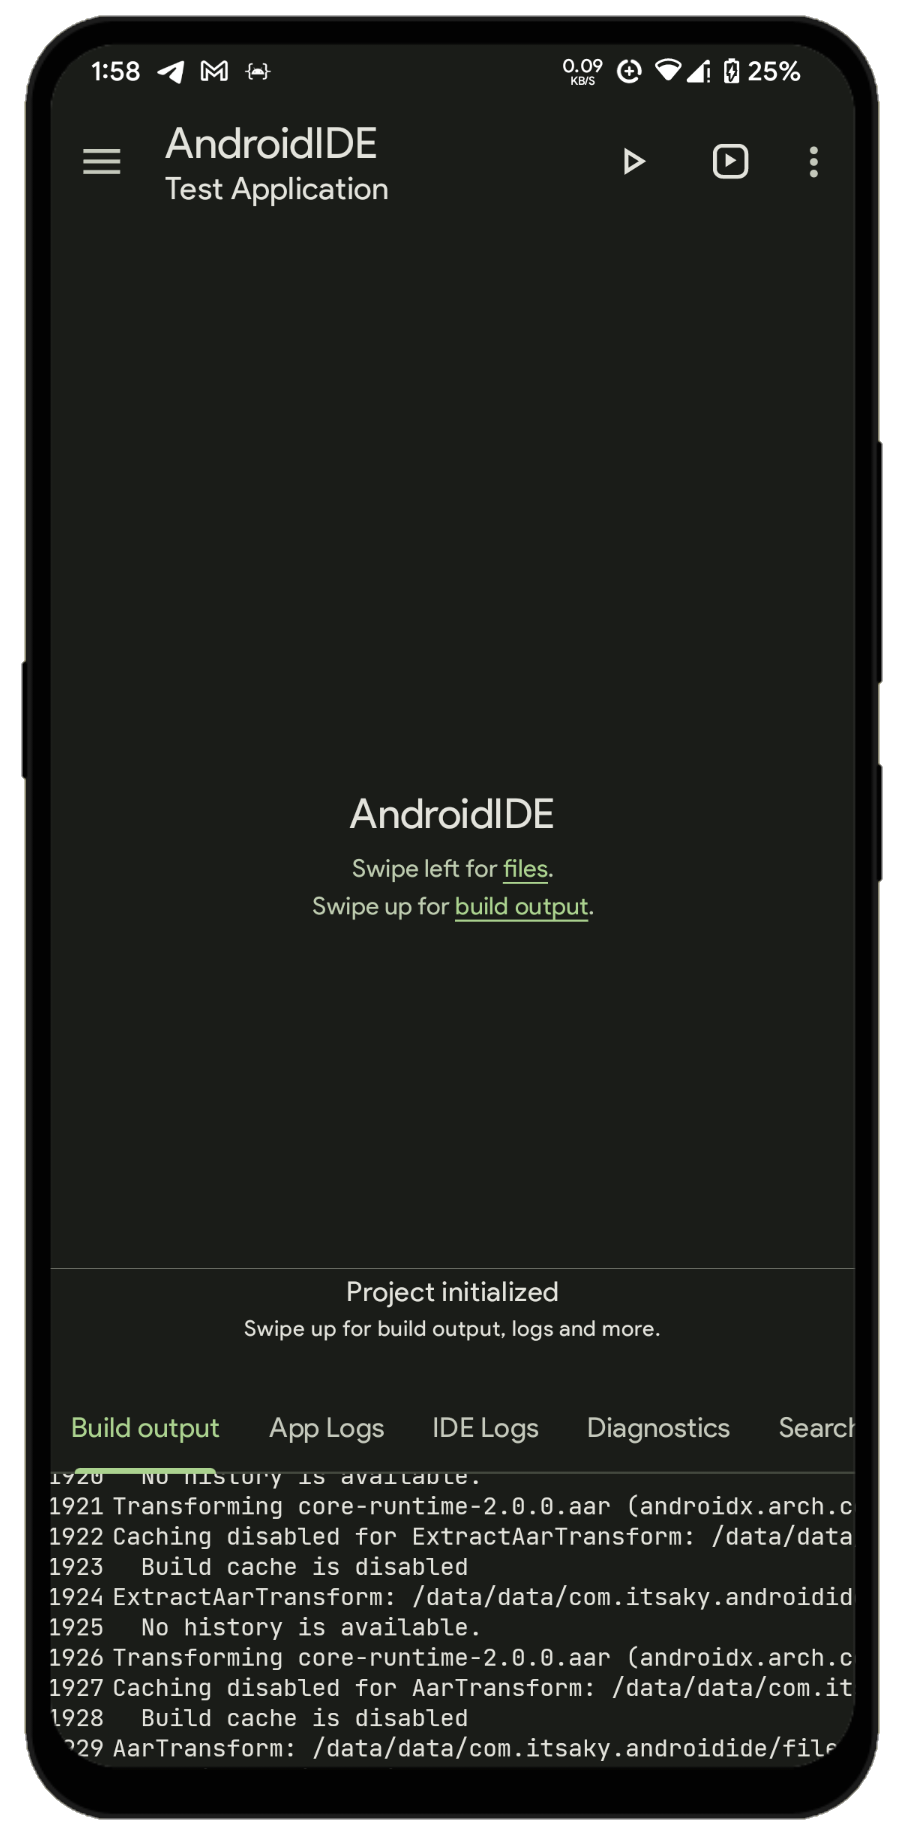
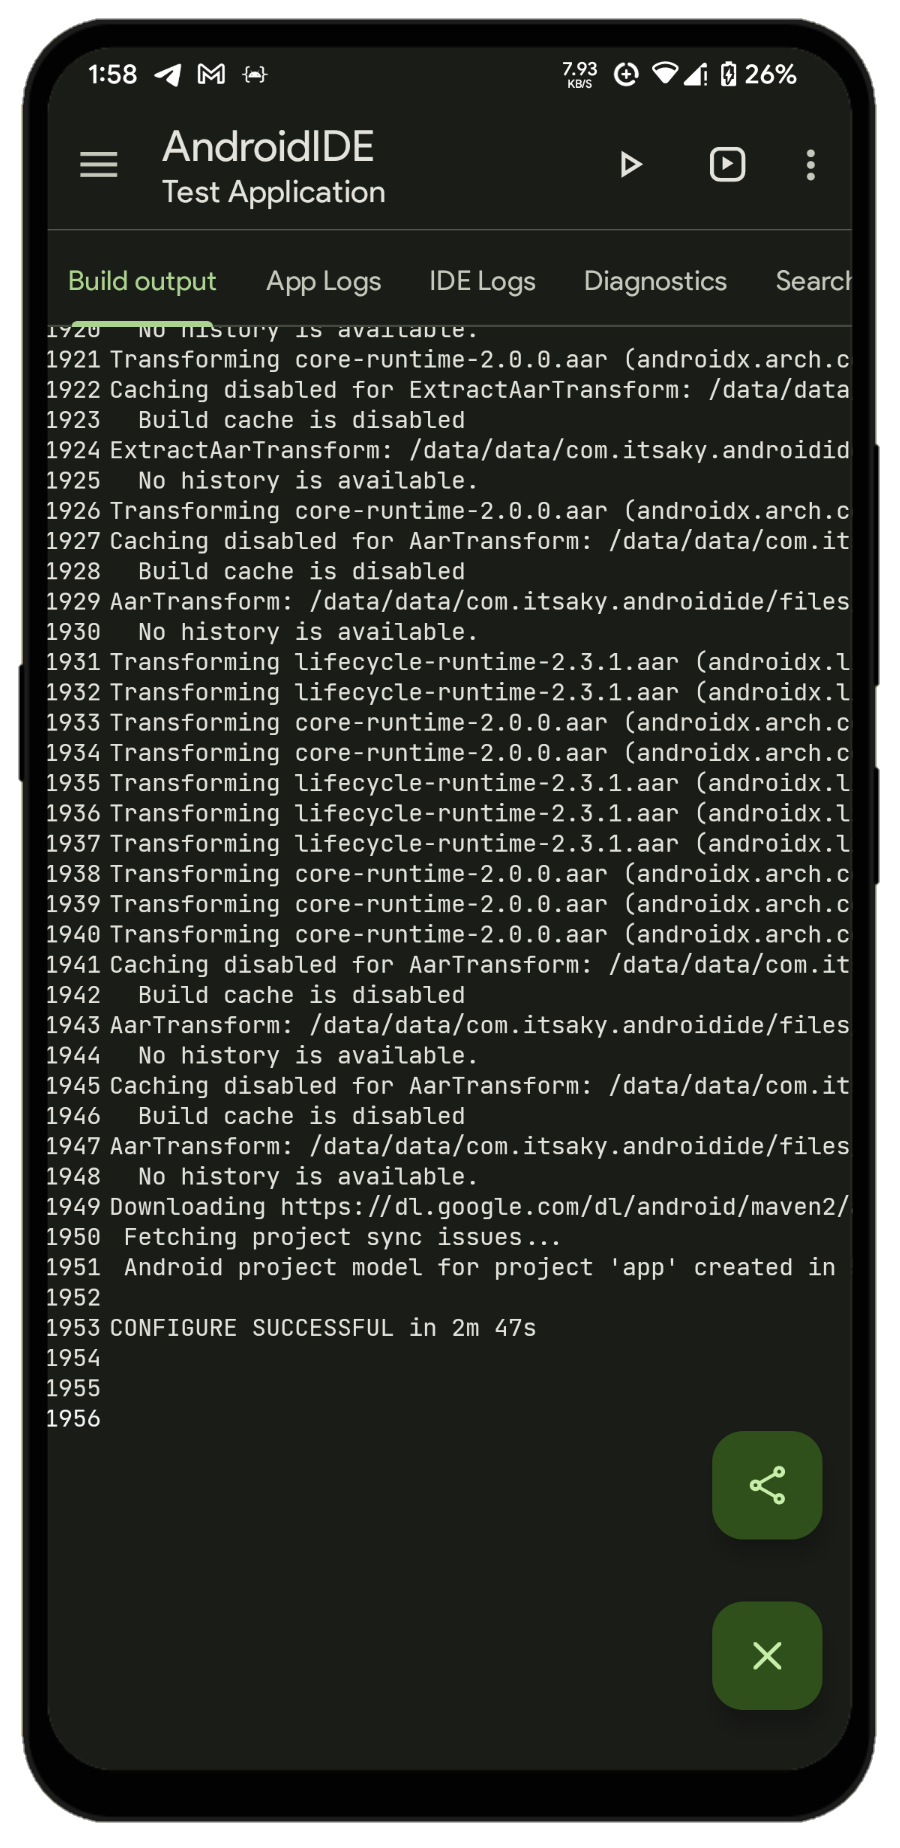
While the project synchronization is in progress, you can swipe-open the bottom sheet to see the build output. The build output view shows the logs which are emitted by the Gradle Daemon while building your project. The first screenshot below shows the bottom sheet view in its half-expanded state while the second one shows a successful project configuration.
Build the project
Once the project has been synchronized successfully, you can start to build the project.
The ``Quick run` </docs/editor/#options-menu>`_ button in the toolbar is used to assemble the debug variant of your
application. It runs the assembleDebug task and lets you install the built APK.
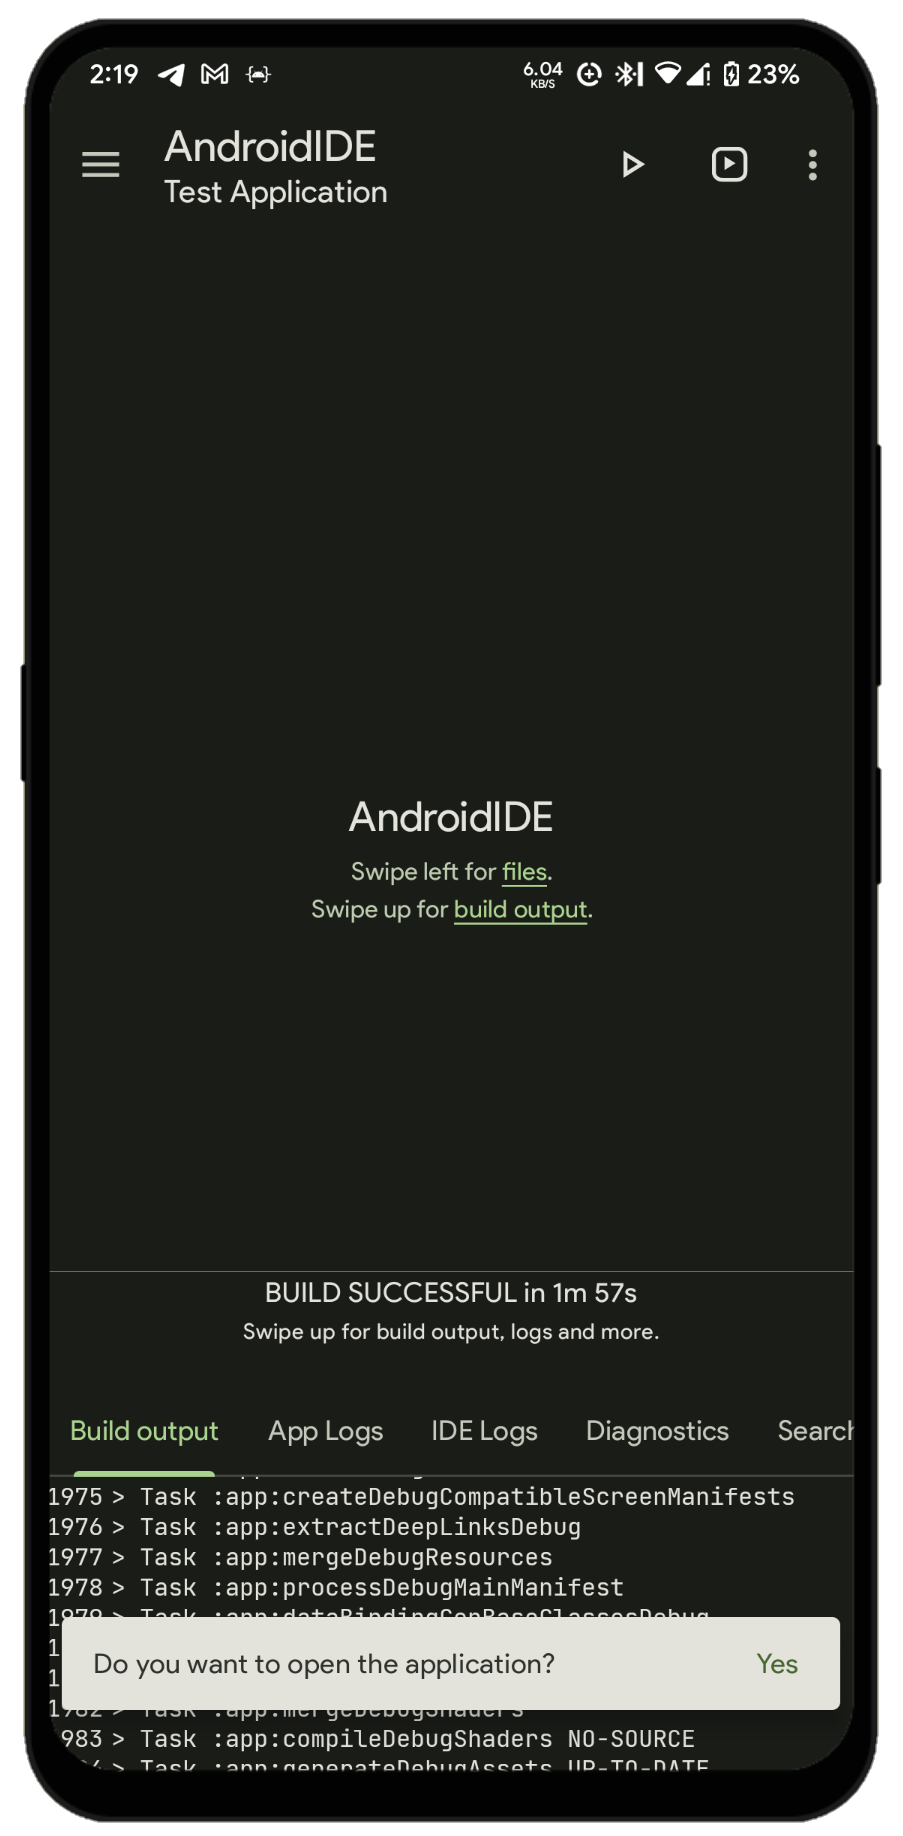
When you click on the button, the IDE will start to build your project. You can open the build output view to see the build output.
Once the project is built successfully, you’ll be prompted to install the application. On newer Android versions, you might need to grant the installation permission to AndroidIDE before you can install the APK. Once you do that and install the application, you can open the newly built application.
The first screenshot below shows the IDE asking if the user wants to open the newly built application while the second one is a screenshot of the built application.