Getting started with AndroidIDE
This tutorial walks through the process of installing the build tools like JDK, Android SDK, etc. in AndroidIDE.
Introduction
AndroidIDE is a feature-rich Integrated Development Environment (IDE) for developing Gradle-based Android applications on Android devices. The IDE offers an impressive range of features, including Gradle support, a Termux-based terminal with necessary packages, advanced Java and XML code completions.
AndroidIDE is available for download from the AndroidIDE website or from GitHub releases.
In this tutorial, we’re going to walk through the steps required to setup the AndroidIDE build tools on your device.
Minimum requirements
Before installing and using AndroidIDE, it is essential to ensure that your device meets the minimum requirements to run the application.
Supported CPU - You must ensure that your device has a CPU architecture that is supported by AndroidIDE. The following CPU architecture is supported by AndroidIDE:
arm64-v8a- 64-bit ARM.armeabi-v7a- 32-bit ARM.x86_64- 64-bitx86.
Enough available RAM - You will be working with the Gradle build system. Depending on the size of your project, you’ll need enough free RAM so that the Gradle Daemon is not killed by the system. A minimum of 1.5GB - 2GB free RAM is recommended.
Enough storage space - A minimum of 4GB free storage space is required. You’ll need enough space for various Gradle distributions and dependencies, according to your project configuration. After the basic setup, around 1GB of space is used by AndroidIDE (without any dependencies or distributions installed).
An internet connection is required for the initial setup. A WiFi connection is recommended.
Install AndroidIDE
The first step is to install the latest AndroidIDE APK. You could download the APK from the following sources :
GitHub Actions - only if you’re willing to try out the latest, probably unstable test builds.
Warning
F-Droid and GitHub builds are incompatible with each other! If you have already installed AndroidIDE from GitHub and if you try to install AndroidIDE from F-Droid, it won’t be installed. Same goes for installing GitHub builds over F-Droid builds.
Please make sure that you download the files only from the trusted sources above. Installing it from unknown sources may pose a security risk to your device.
Basic setup
Before getting started with building projects, you need to install the basic build tools which are necessary for the IDE to function properly.
When you open the application for the first time, you’ll be presented with the onboarding screen which will guide you to installing AndroidIDE and ask you for the following permissions :
Storage - Required to work with files on the File System.
Install packages - Required for installing apps built with AndroidIDE.
Post Notifications - For Android 13 and above, you need to grant the
POST_NOTIFICATIONpermission. This will be used to show notifications on your device.
There are three methods to install AndroidIDE:
Automated installation
Configure your installation with the GUI. This simply executes the
idesetupscript in the terminal. Once the installation is complete, it will automatically navigate you to the home screen.Note
Automated installation option is only available in v2.7.0-beta and newer.
Manual installation
idesetupscript - provides you various options to install the tools. See installation with idesetup.Fully manual - manually install the tools by yourself. Choose this if you have already downloaded the tools or if you want to install custom tools in AndroidIDE. This can also be beneficial if you frequently re-install AndroidIDE. See the manual installation guide.
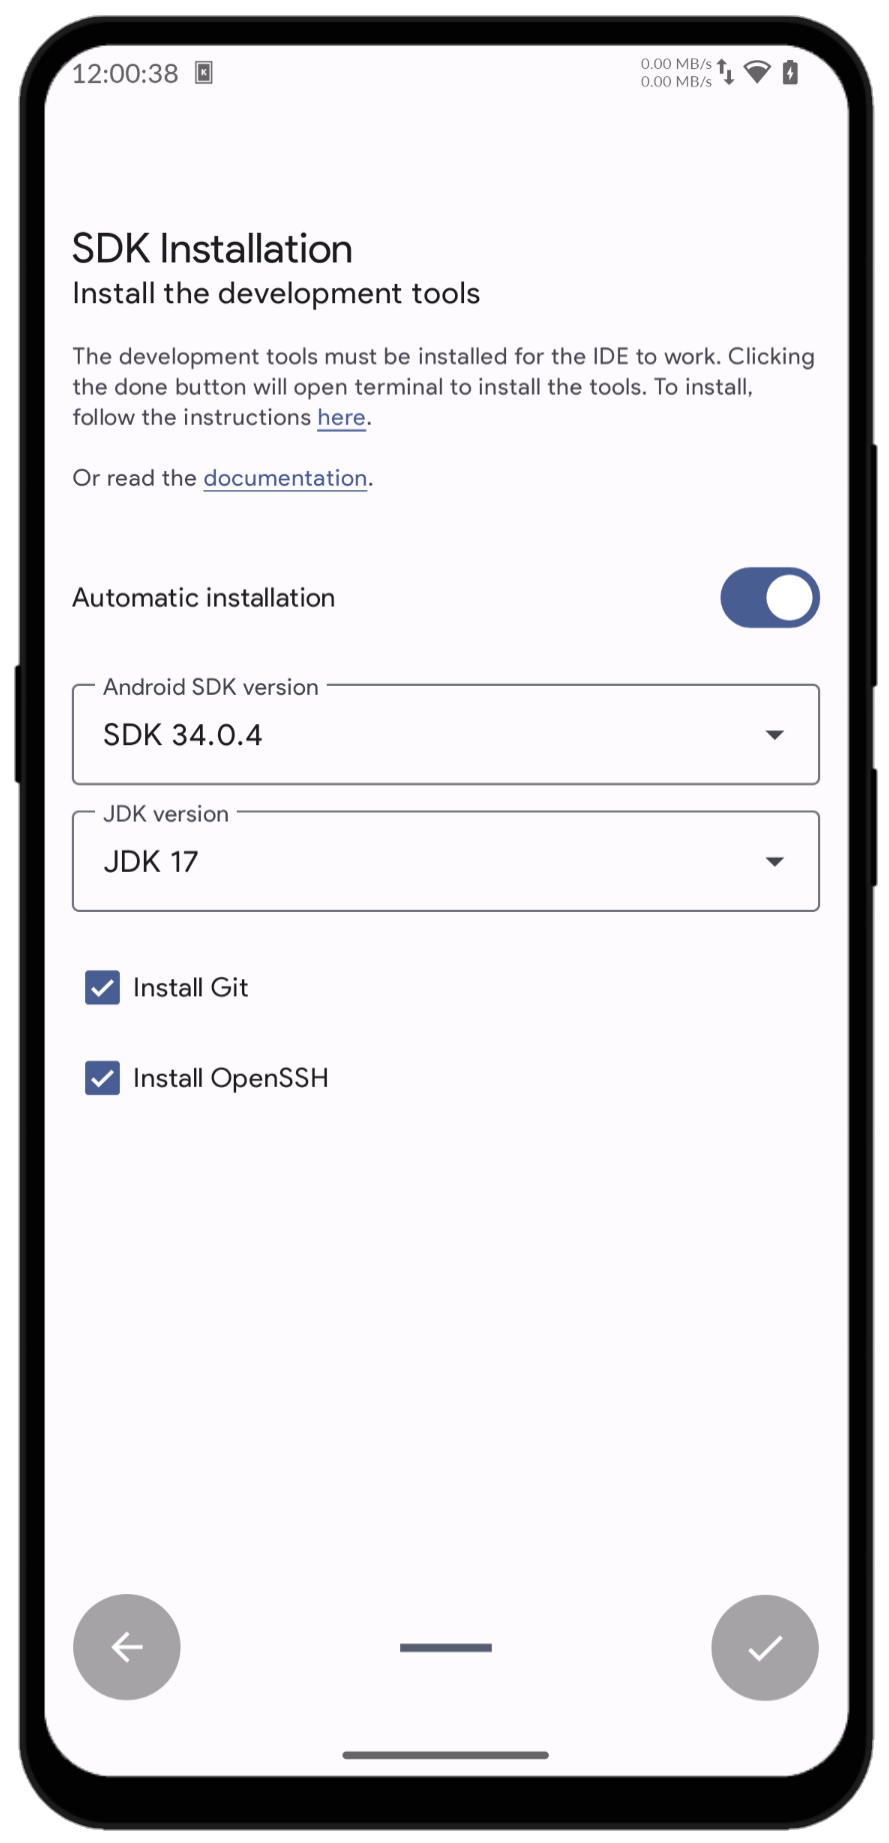
After you have granted the permissions, you’ll be navigated to Setup tools screen which you can use to configure the installation. For example, you can choose to install JDK 21 instead of JDK 17 which is installed by default.
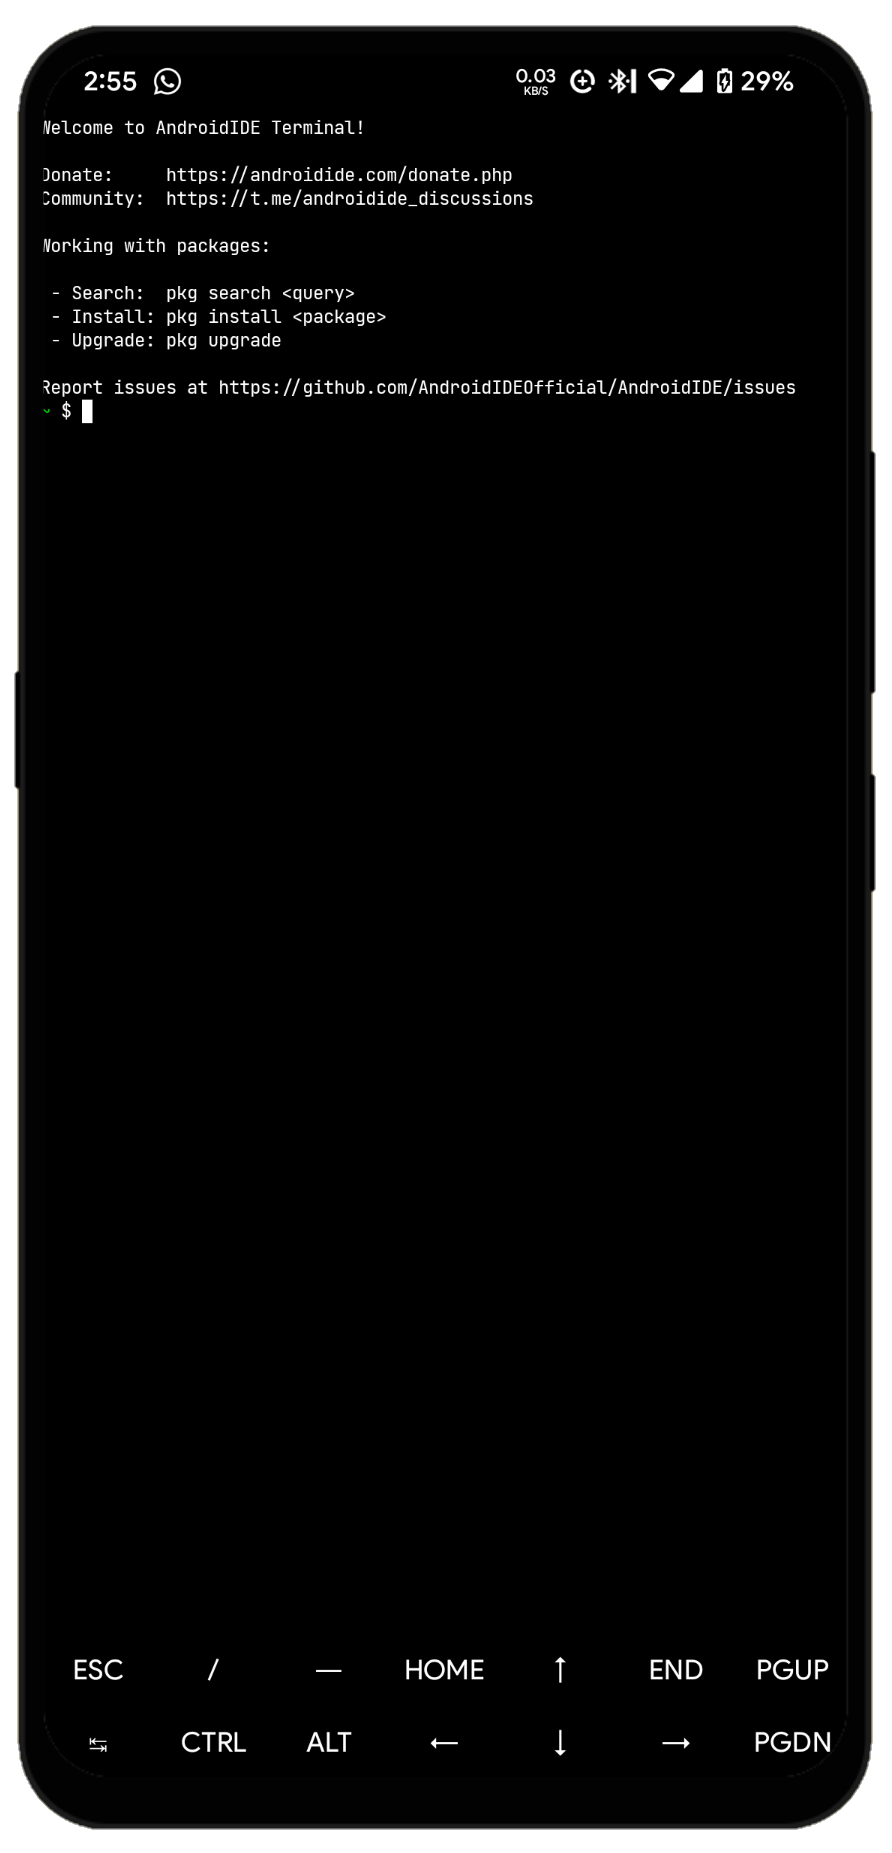
The below images show the SDK installation GUI and the terminal activity respectively :
Install the build tools with idesetup
The AndroidIDE terminal includes the idesetup command which downloads and installs the required build tools for your
device. It is a simple shell script which downloads the required files from
the androidide-tools GitHub repo and extracts them at their
proper location. It also installs the openjdk-17 package.
There are various options available in the script which you can use to customize the installation. However, the
default settings are always recommened. To see the list of available options, you could execute the idesetup -h
which should print an output similar to the following :
AndroidIDE build tools installer
This script helps you easily install build tools in AndroidIDE.

Usage:
idesetup -s 33.0.1 -c -j 17
This will install Android SDK 33.0.1 with command line tools and JDK 17.

Options :
-i   Set the installation directory. Defaults to $HOME.
-s   Android SDK version to download.
-c   Download Android SDK with command line tools.
-j   Choose whether to install JDK 17 or JDK 21.
-m   Manifest file URL. Defaults to 'manifest.json' in 'androidide-tools' GitHub repository.

For testing purposes:
-a   CPU architecture. Extracted using 'uname -m' by default.
-p   Package manager. Defaults to 'pkg'.
-l   Name of curl package that will be installed before starting installation process. Defaults to 'libcurl'.

-h   Prints this message.
In case you get an error saying bash: idesetup: command not found, you could manually download and install the script
with the following command :
wget https://raw.githubusercontent.com/AndroidIDEOfficial/androidide-tools/main/scripts/idesetup -O $SYSROOT/bin/idesetup && chmod +x $SYSROOT/bin/idesetup
Now, execute the following command to start the build tools installation.
idesetup -c
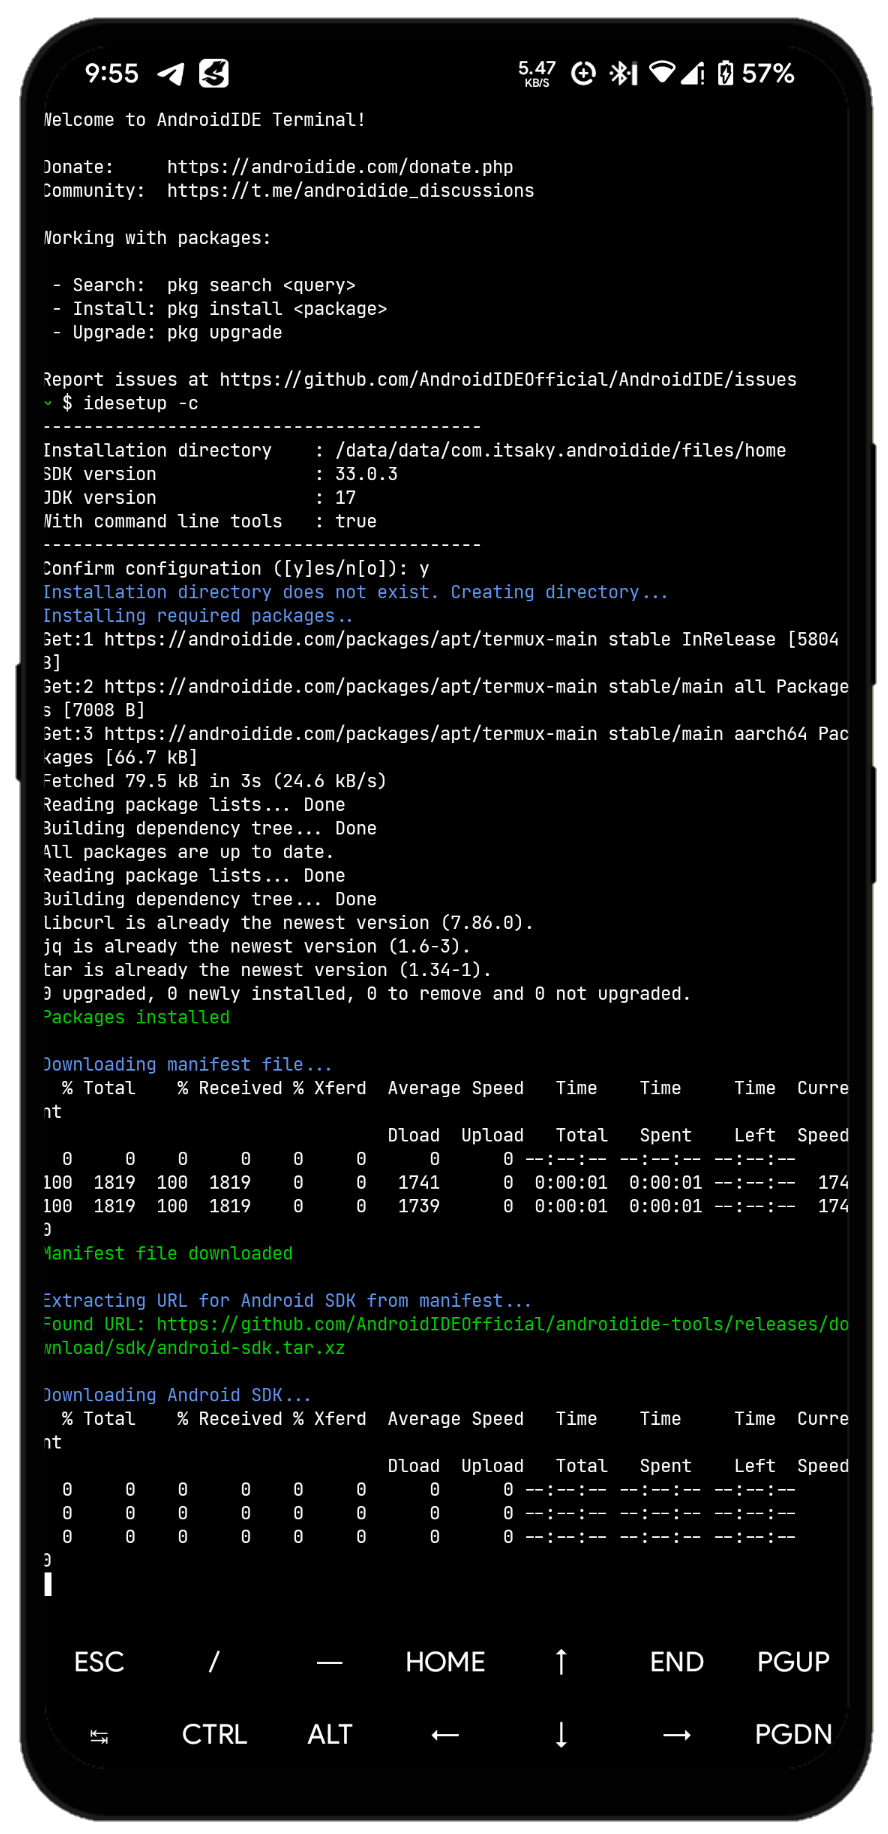
Once you execute the command, it’ll print a summary of the configuration which you need to confirm. Type ``y`` and press Enter to confirm the configuration. The script will then start the installation procedure.
------------------------------------------
Installation directory    : /data/data/com.itsaky.androidide/files/home
SDK version               : 33.0.3
JDK version               : 17
With command line tools   : true
------------------------------------------
Confirm configuration ([y]es/n[o]): y
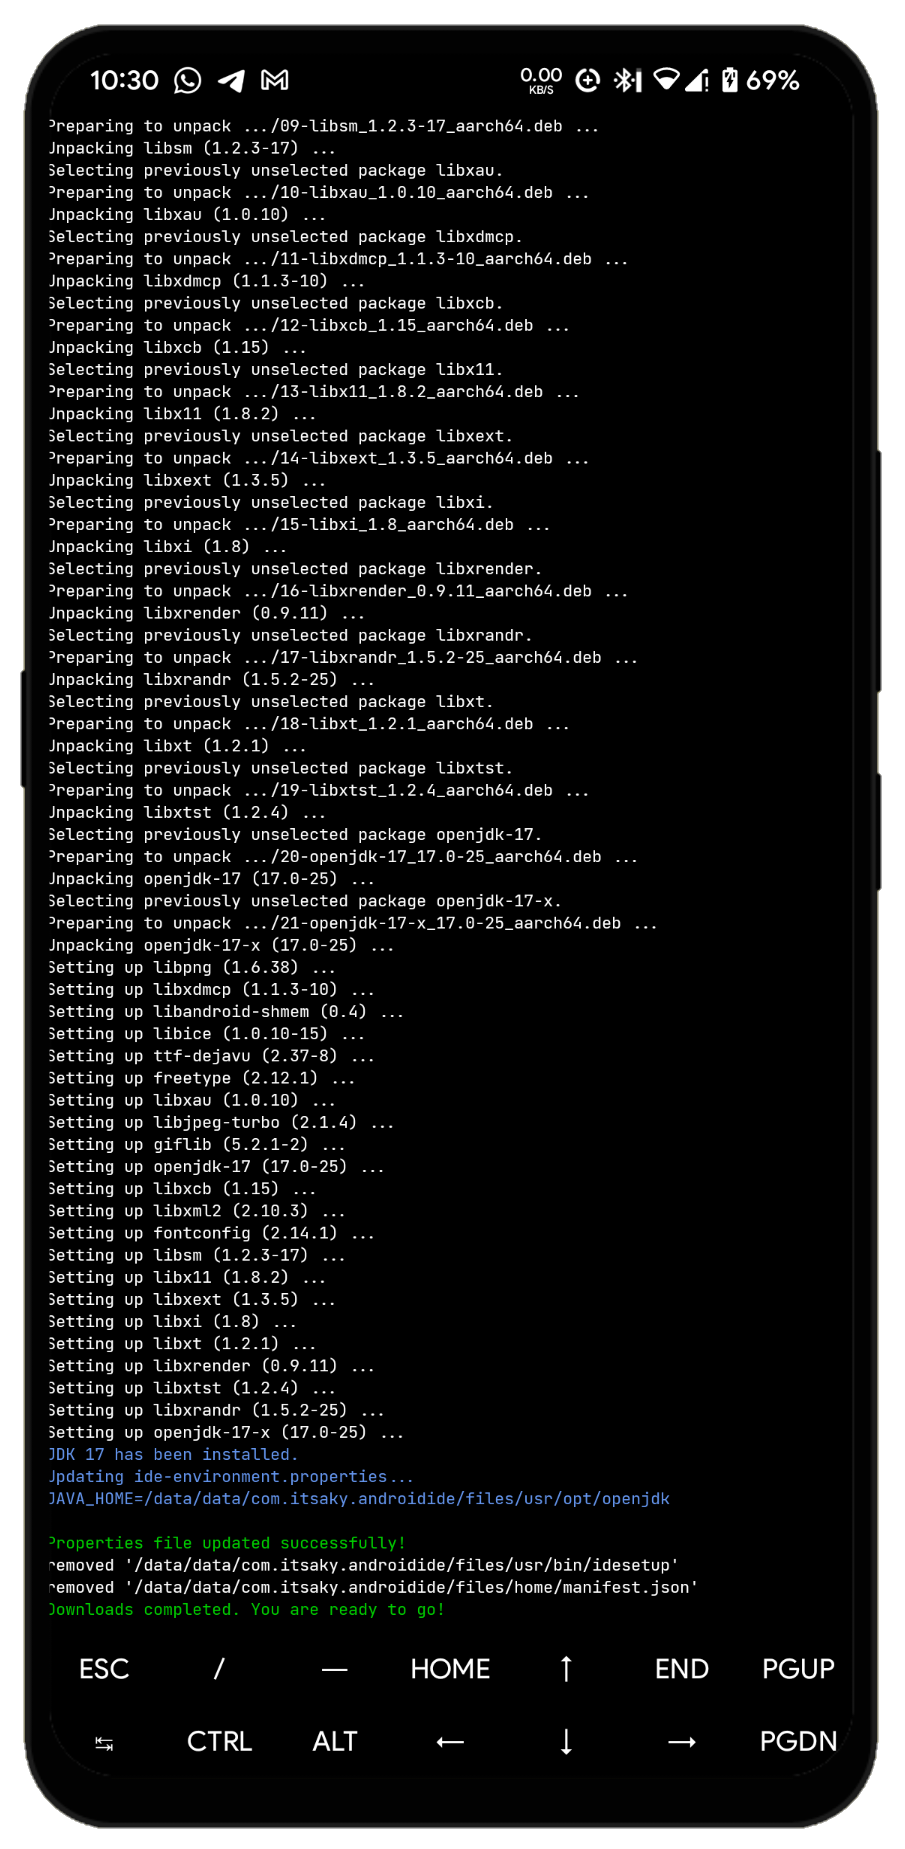
The installation process may pause after some time and ask you for your confirmation about installing JDK 17. Just
type y and press enter.
The first screenshot below shows the terminal screen where the installation process is in progress and the second one shows the screen where installation process has been completed.
Once the installation is completed, you can verify the installation by checking the Java version with java --version
command. Your output must be similar to :
openjdk version "17-internal" 2021-09-14
OpenJDK Runtime Environment (build 17-internal+0-adhoc.root.src)
OpenJDK 64-Bit Server VM (build 17-internal+0-adhoc.root.src, mixed mode)
It is recommended to restart AndroidIDE after the installation.
Congratulations! You’ve successfully installed the build tools in AndroidIDE. Now it’s time to :build your first project.